Adding a Client (Demographics)
Overview
Adding clients to Ankota is a simple process. By adding in a few key demographics such as name, address, phone, primary diagnosis code, and IDs, your client's basic profile is built. This profile is one of the foundations you'll build on to later as you add the care plan and authorization information and create the schedule.
State Specifics
Please note the directions below are universal. If you have state specifics, you will need to ensure you meet them. See your state guide for further details.
Adding a Client
Before adding a new client in the system, you must ensure the client has not been with the organization previously.
To do this, click on the Clients tab from the Main Menu. Under Clients, change the status from Active to All and filter with the client's first or last name. Click Search to see if your client is set as a client within the system.

If your client has not been added previously, click the Add New button on the Clients page.

Fill in the Client ID with the Medicaid ID number. Then select the Referring Program (which may be listed as Agency or Payer Descriptor, depending on your state/environment) from the drop-down list if applicable.
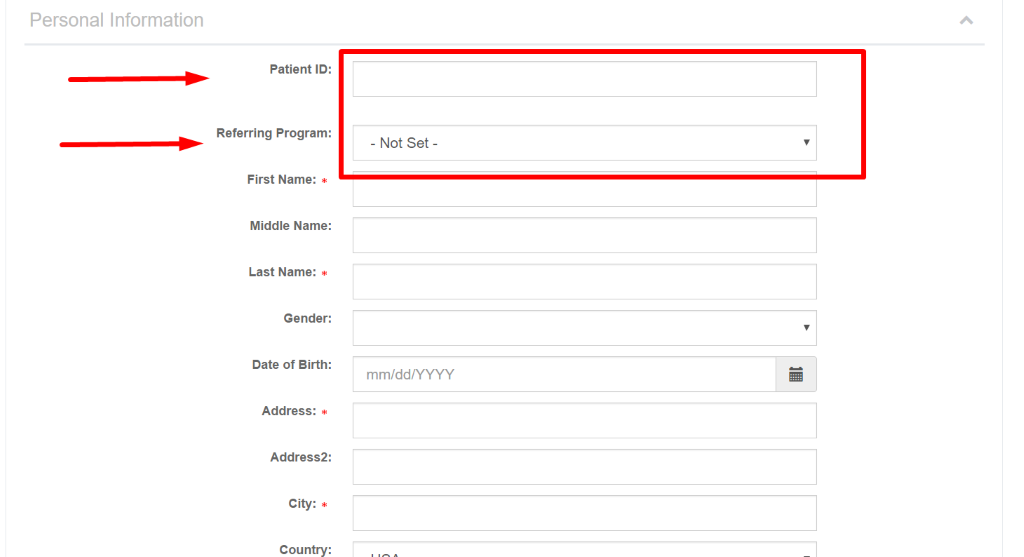
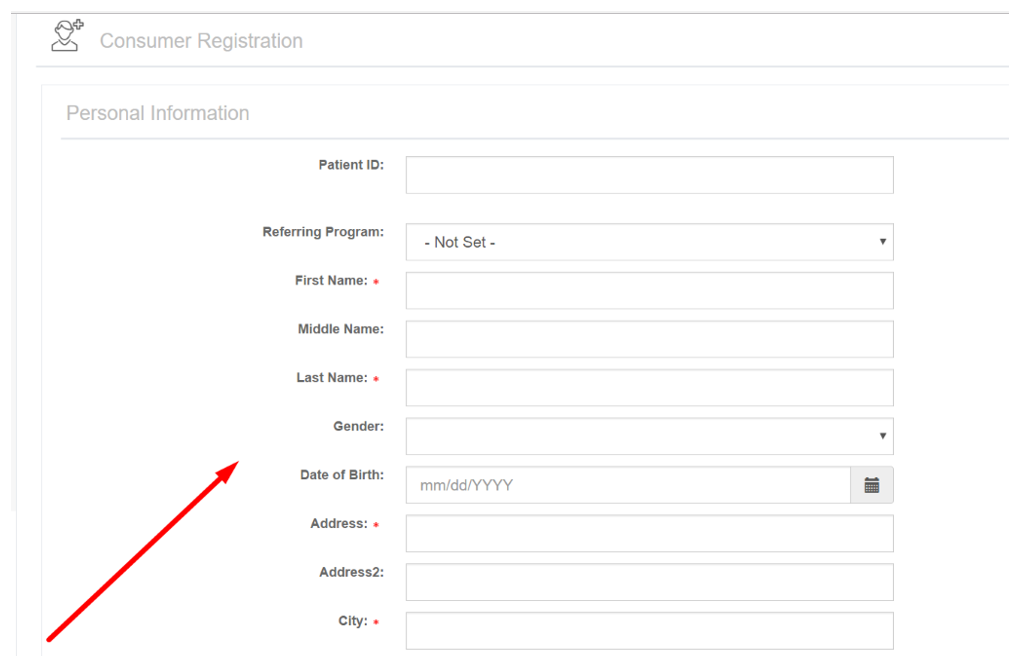
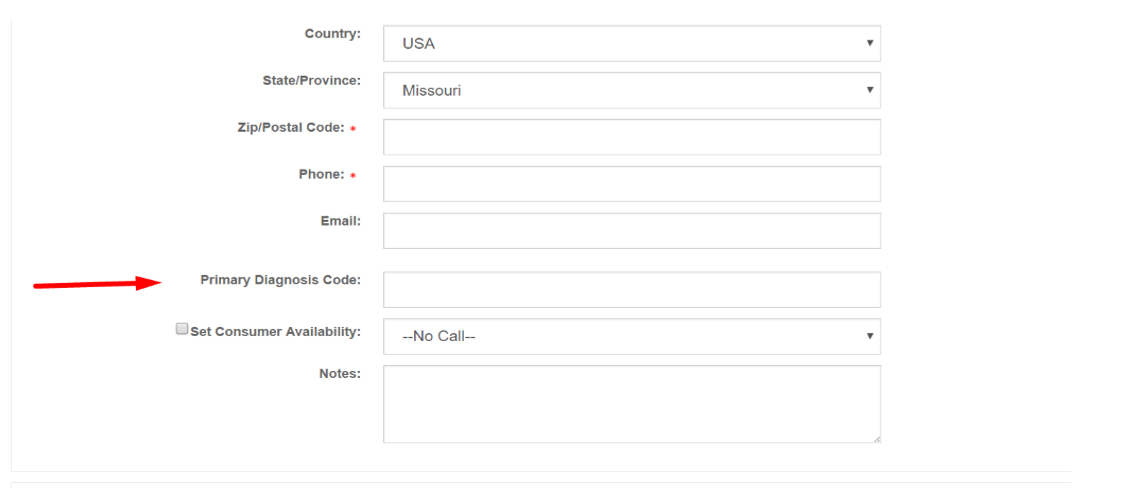
Next, fill in the starred mandatory fields of Name, Address, Phone, and Primary Diagnosis. Include any apartment numbers or other information in the Address 2 area. If you have their Medicaid IDs or Member IDs, you may wish to add those as well. For private pay clients, we recommend you also add an email. When finished, click the Submit button.
Should you wish to have the ability to text a client, you will need to enable the "Consent to receive text messages" functionality. The process is as follows:
- go to Clients from the main menu
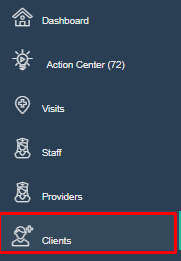
- Search for the client whose number you wish added to receive text messages
- Click on their phone number
- Check the box next to "Consent to receive text messages"
- Click "Save"
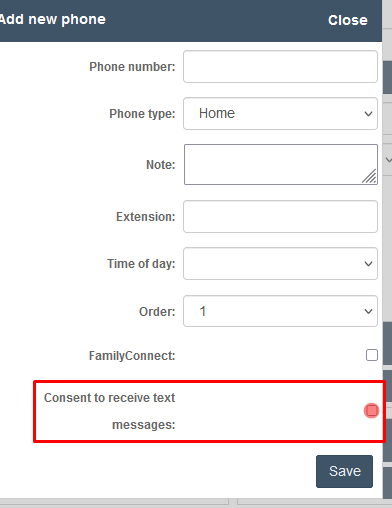
You will also have the option to add in multiple contacts. This section can be skipped if desired.
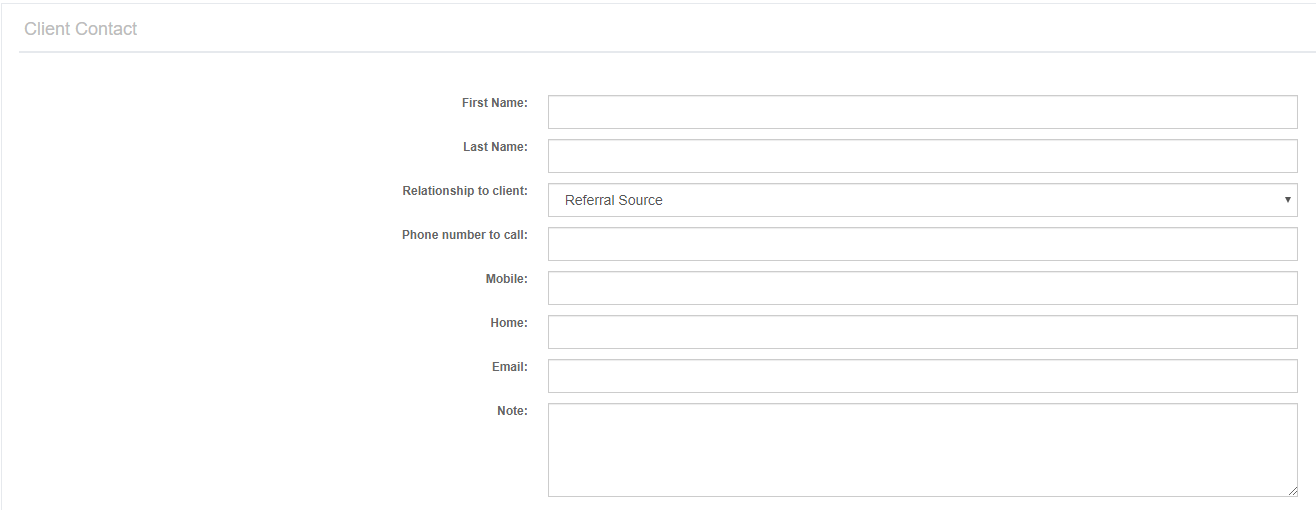
Click Submit.

Adding a Client - Video
For the next step in adding a client, go to Authorizations.
