The Scheduling Board
Overview
The Scheduling Board (also known as the Dispatch Board) is a versatile tool in Ankota that you will likely work with daily. Schedules can be updated here and issues with visits will be flagged for your review at this location as well. The main schedule board has two versions: the Caregiver Schedule Board, and the Client Schedule Board. They have equal functionality, but are organized in opposite ways, by caregiver or by client.
This article includes the following sections:
Display Scheduled/Actual Time + Duration
General Functionality
Accessing the Board
You can access this board by clicking on the left-hand menu, selecting Scheduling, then clicking on Scheduling Board. On a macro level, the screen presents a color-coded schedule of each client and caregivers' visits for the week. On the top left section of the board is the dial-in number your team will use to report visits.
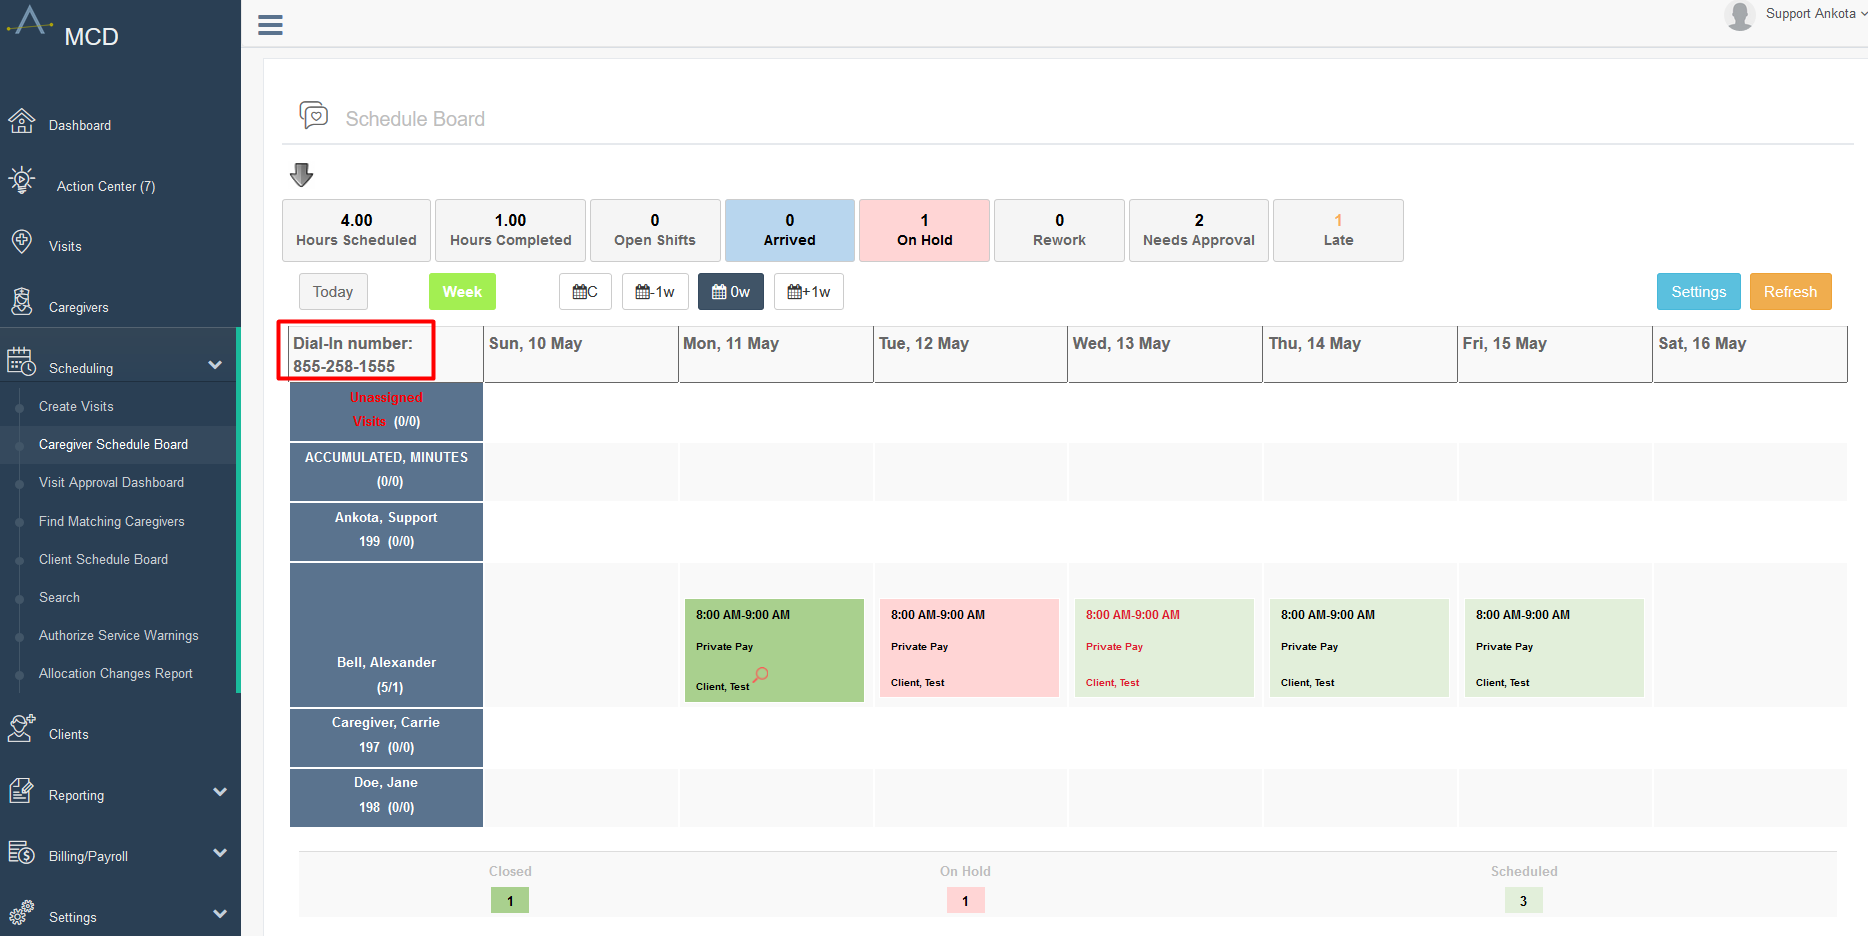
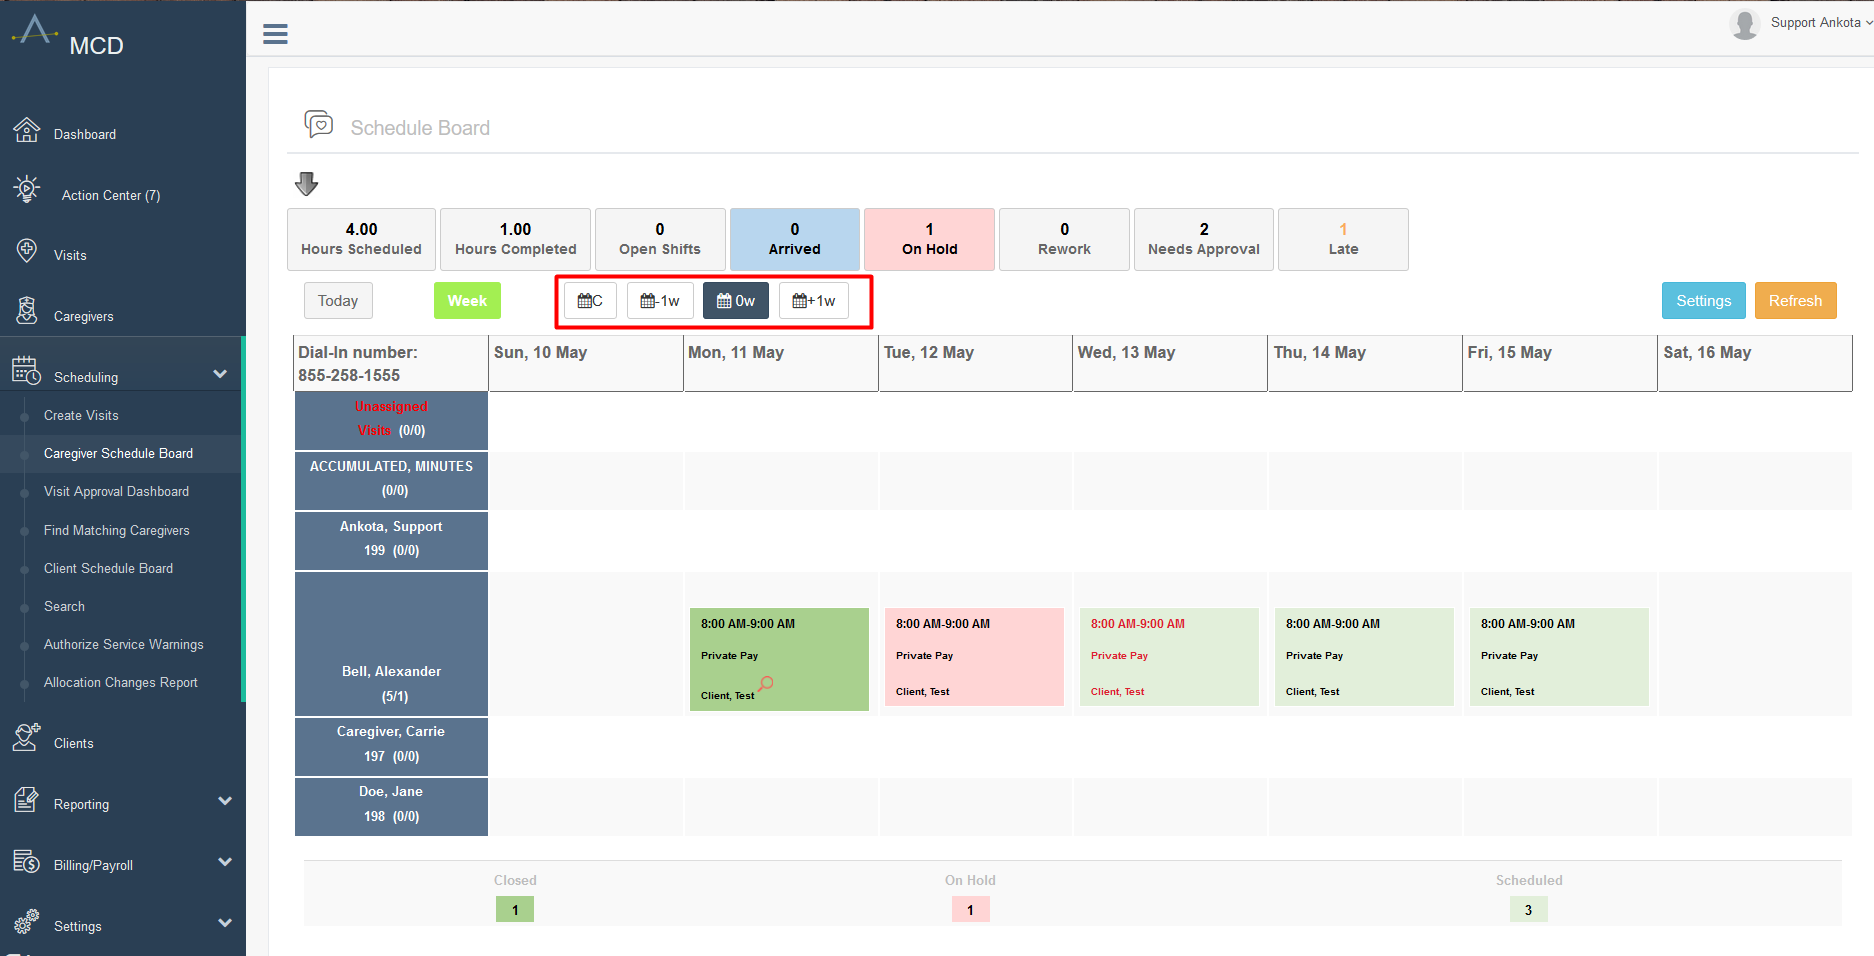
You can move forward or back a week by using the -1w/+1w function, or use the calendar icon to pick a specific time frame.
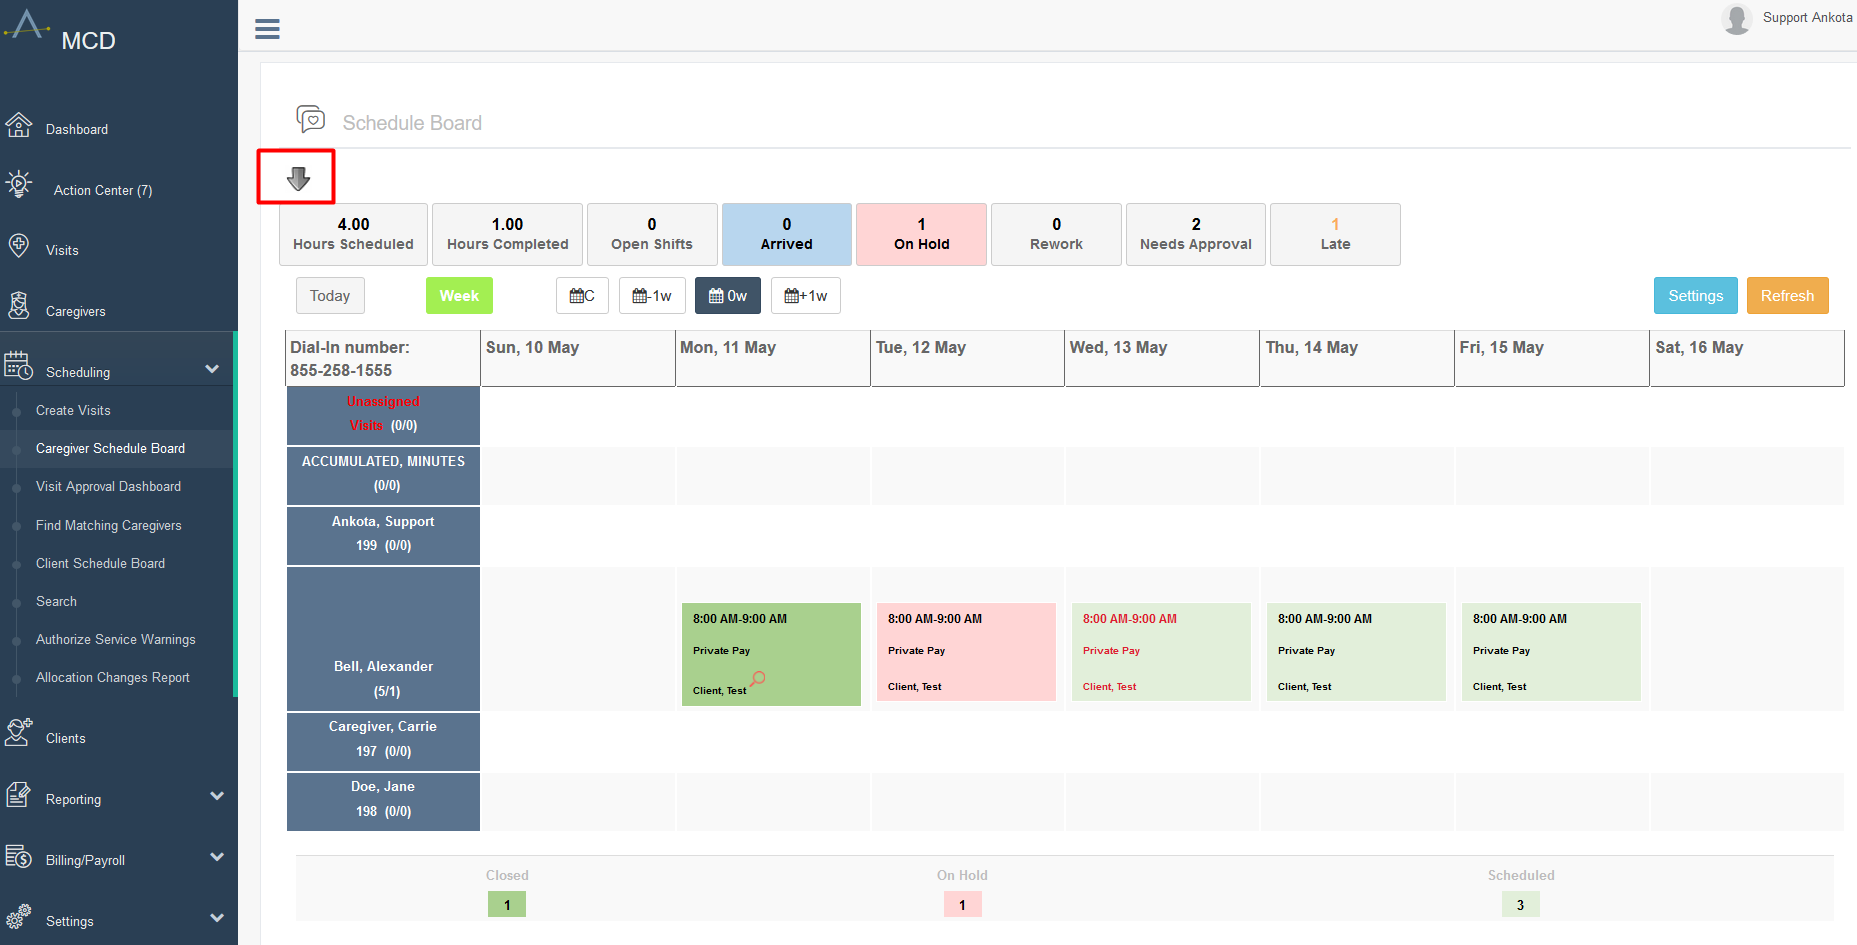
You can also access filters by clicking the arrow button to unveil a section of filters.
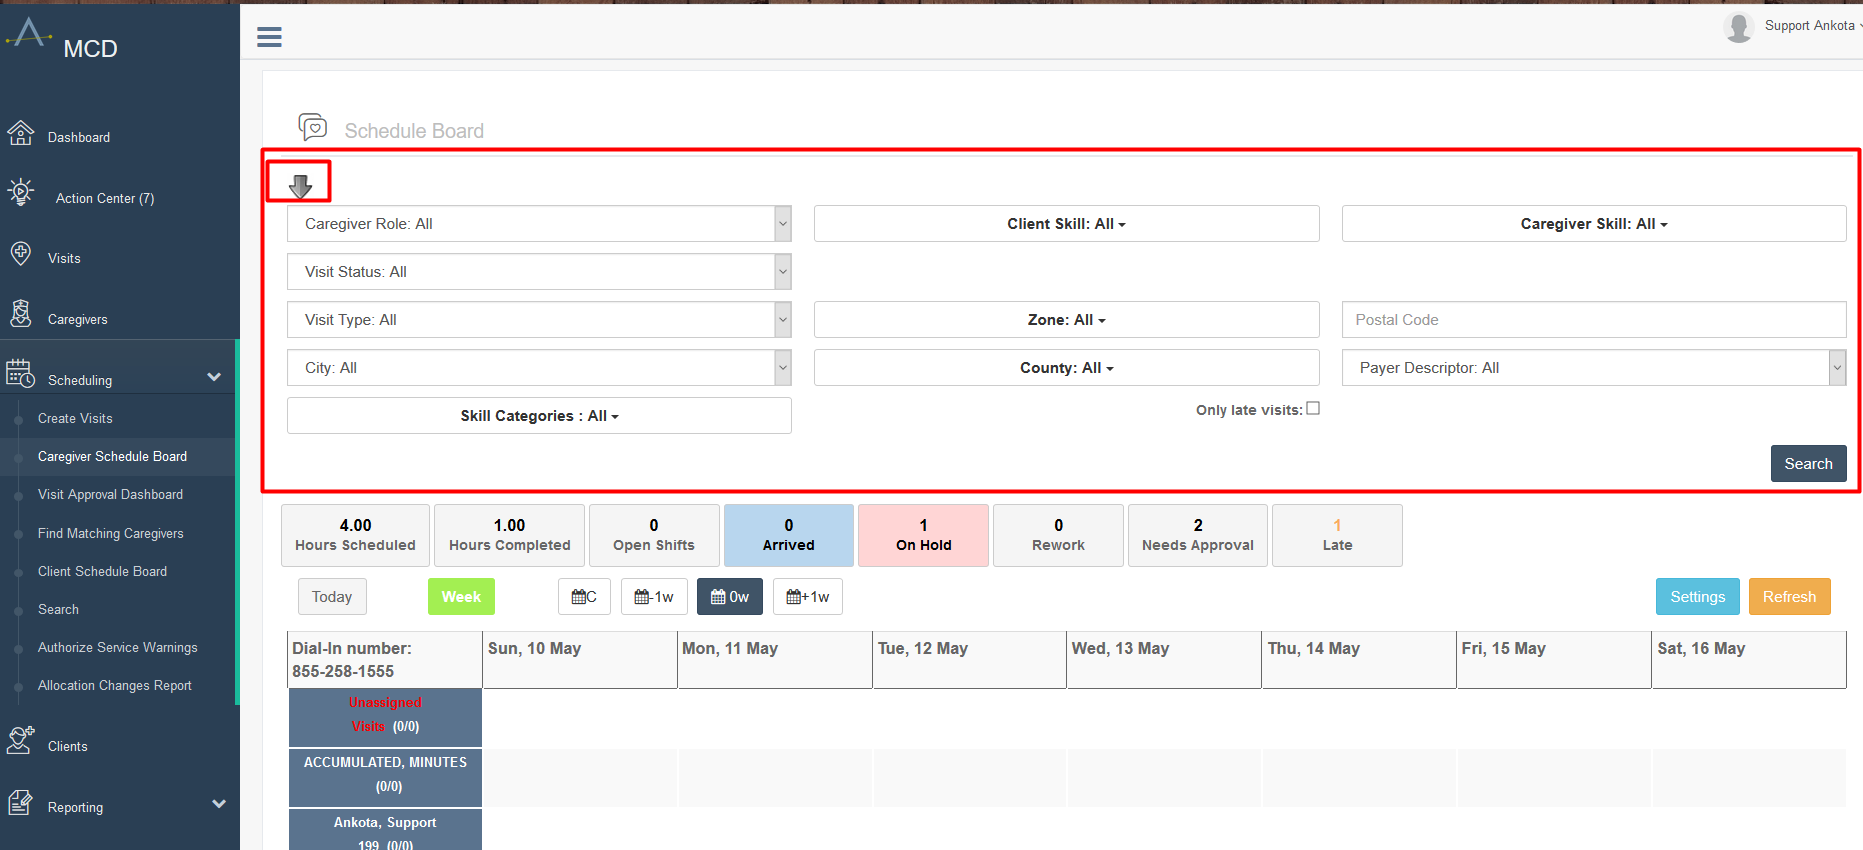
Filters
This filter section is particularly useful for larger organizations, which may wish to separate out scheduling by team tags. The filters available under the arrow allow you to view only the visits on the screen that you choose.
Below the arrow group of filter options there is also a dashboard summary of the scheduling board.
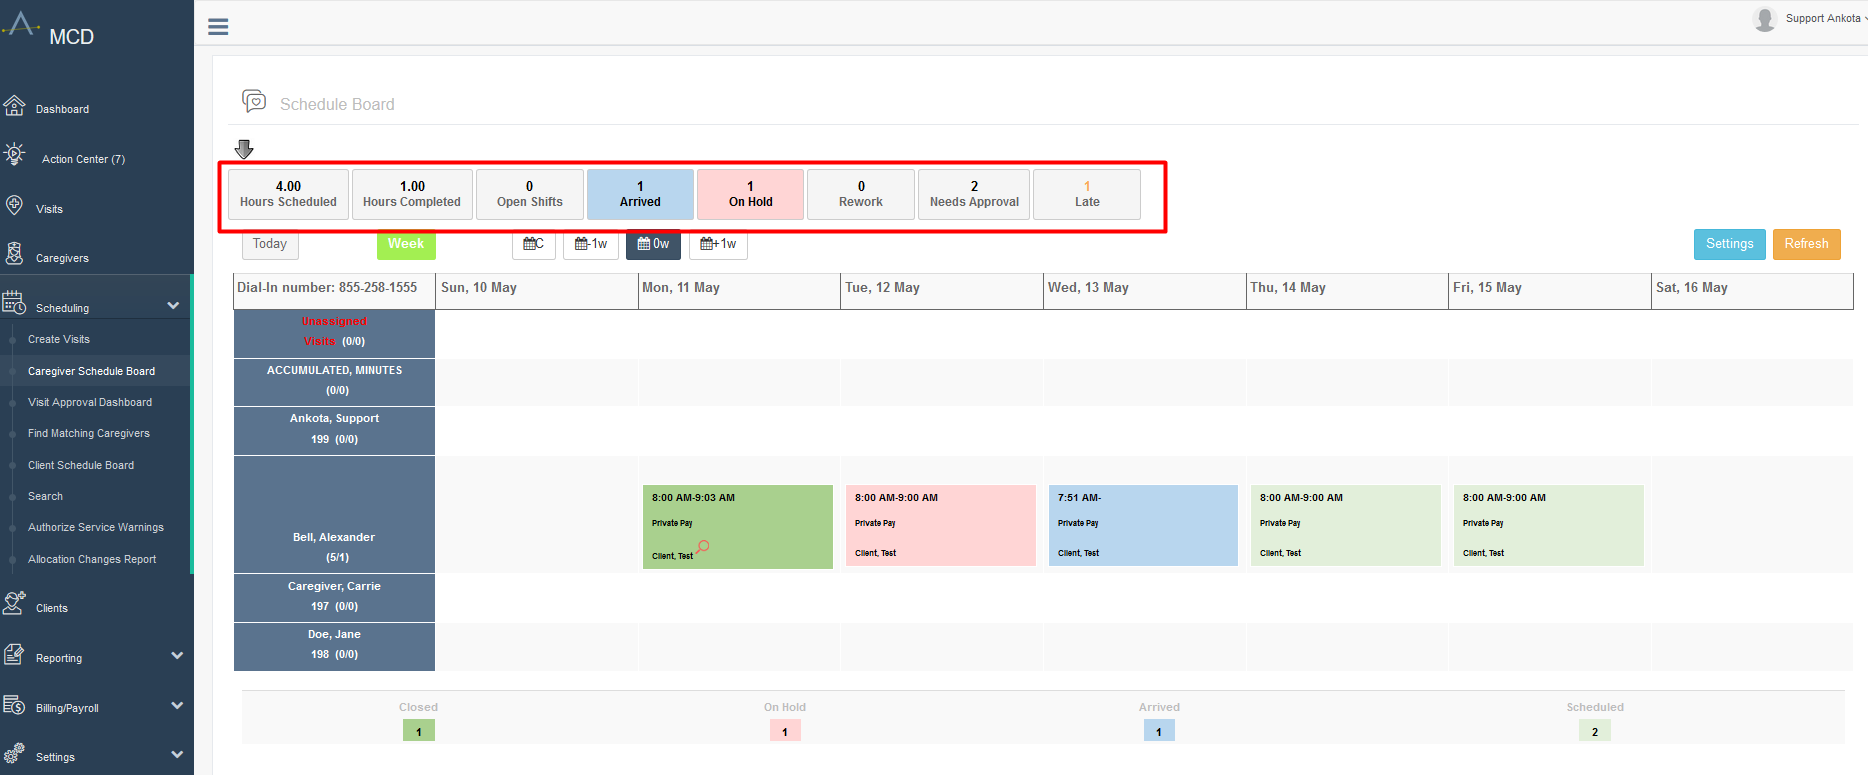
In addition to providing a general summary of statuses, each of these blocks can be turned on or off by clicking on them, which will result in hiding all visits that were not in that category. You can even combine the filtering aspects of these blocks if desired.
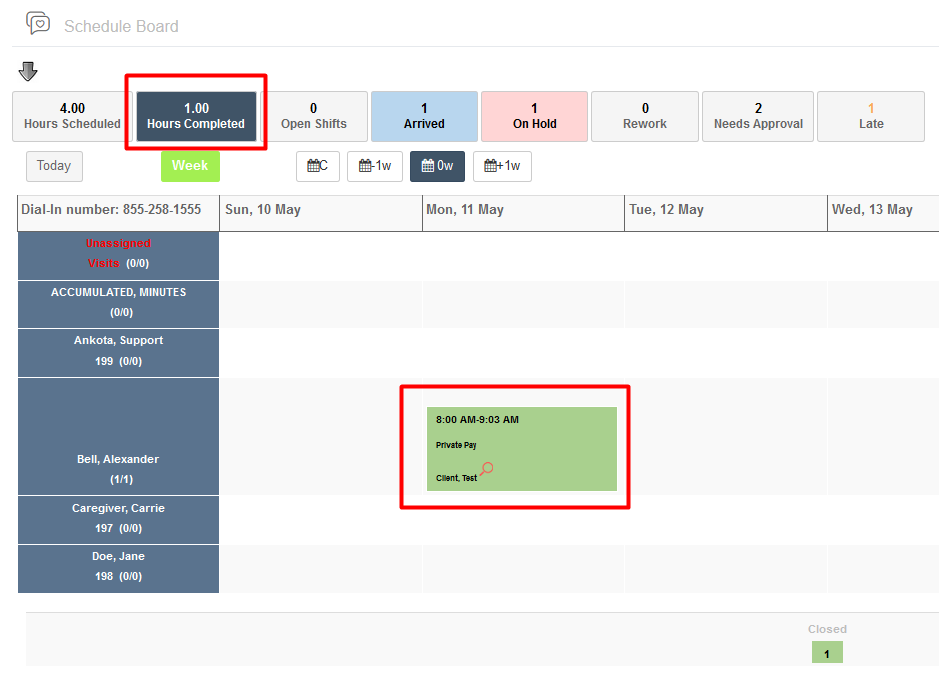
CLOCK-IN TIMES
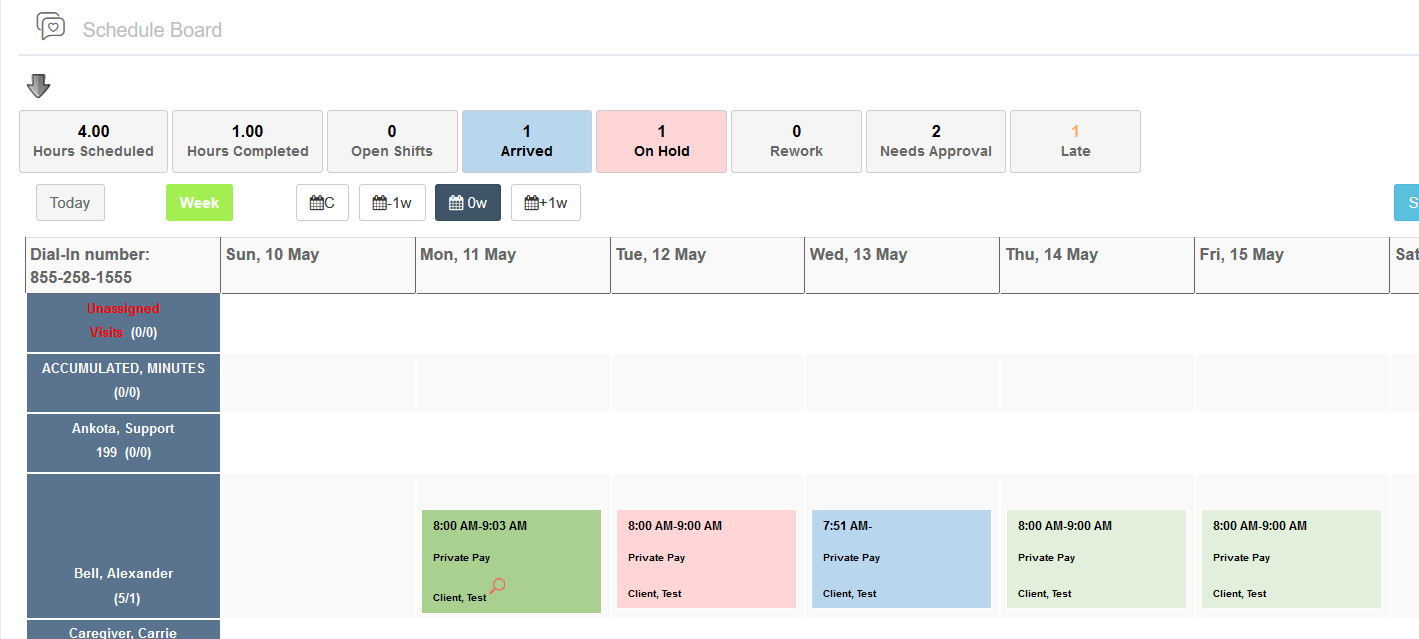
Please note that once a caregiver clocks in, the actual clock-in/clock-out times are visible rather than the scheduled times for the visit (if any). The times are adjusted as the caregiver clocks in as well as when they clock out.
For more information on calendar times options, click here.
Color Key
If you scroll down to the bottom of your screen, you will see a color-coded count (in real time) of the status of each visit. It will illustrate the count of all statuses in use, such as Arrived, Departed, Closed, Cancelled, Door Tag, On Hold, etc.

Note if the caregiver's name is in red, there are overlapping visits on their schedule.
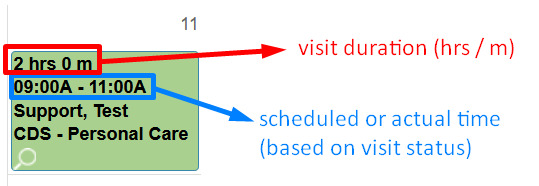
Display BOTH Scheduled/Actual Time + Duration on the Calendar
Some customers prefer a visual of scheduled and billable times on their schedule boards. You must do this for each visit type.
To turn on this setting:
- Login to the environment
- Click Settings
- Click Service Settings
- Click Visit Type by selecting Type ID or the edit button
- Click Details Tab and scroll to the bottom
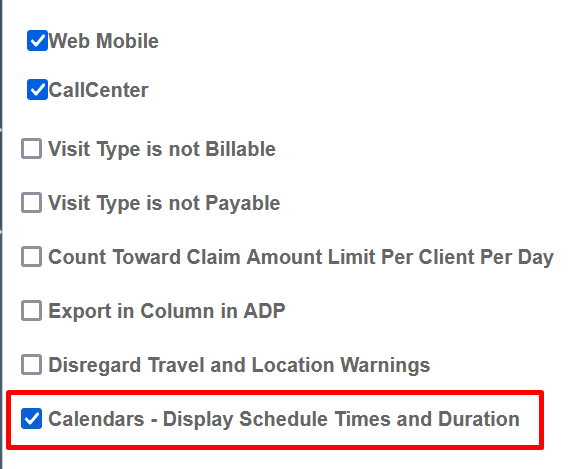
- Select Checkbox - Calendars - Display Schedule Times and Duration
- Save
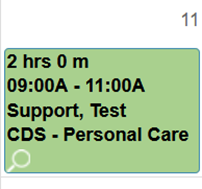
On your schedule board, it will look like this:
Calendar Alerts
Warnings
If you see a client's name in red in the calendar section, this is an alert letting you know that there is something for you to investigate.
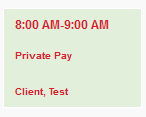
Hover your mouse over the name to see the information about the visit, including the specific reason for the alert.
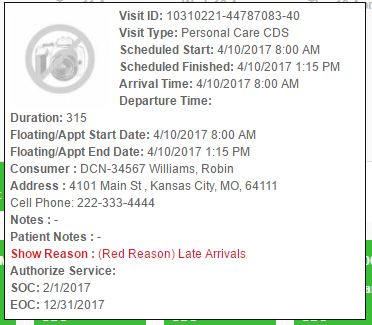
Other issues may include:
- (Yellow Reason) Work not authorized for patient
- (Yellow Reason) Worker does not have the right skill(s)
- (Yellow Reason) Assignment time is outside required window
- (Yellow Reason) Patient not available that day
- (Red Reason) Worker has overlapping visits
- (Red Reason) Late finish
- (Red Reason) Late Arrivals
Closed Visits with Identified Issues
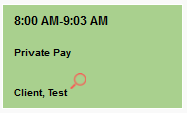
When a visit is closed but there is an issue that violates one of your business rules, a magnifying glass will appear after the client’s name in the visit block. A visit with a magnifying glass will bring you to the Visit Detail Report. From there, this feature allows you to select either Approve Billing and Payroll, Approved for Payroll, or Approved for Billing.
A red magnifying glass represents a minor records issue that needs correction, such as a change in telephone number. A black magnifying glass represents a major issue that needs correction, one that would prevent billing.
Common reasons for flagged issues include:
- The duration is +/- minutes from scheduled duration. The actual duration was different from the expected duration.
- GPS/location error. If the GPS location did not meet the previous defined parameters, it will need correction. When check-ins are outside expectations, which is usually referred to as "tolerance," it will be flagged and needs review.
- The phone number was different from the expected value.
To review the issue, click on the magnifying glass.
A new tab will open with all the details of the visit.
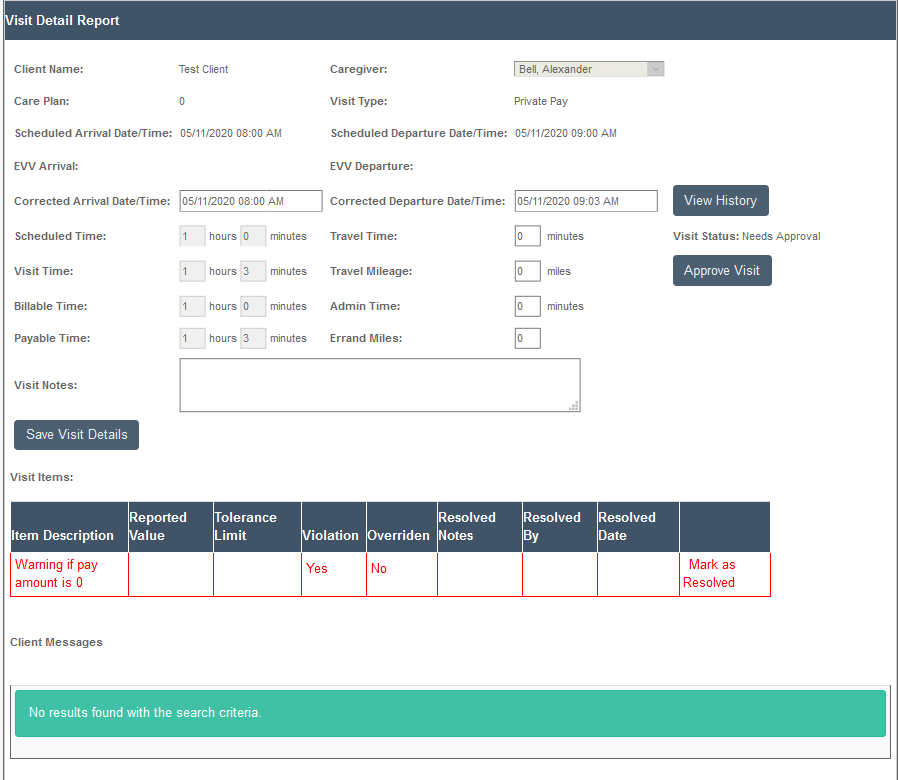
These red line items are calls to action. Clicking on each one and marked them as resolved is for recordkeeping purposes only; you will still need to take a separate action to resolve the issue. For example, in the screenshot above you see there is a warning that the pay amount is zero. To correct this, you would open the caregiver's profile, enter a new pay rate, save, and then return to mark this item as resolved.
This process can also be completed as part of the standard Visit Approval Dashboard review. For more on visit approvals, see the Visit Approval Dashboard.
Shortcuts
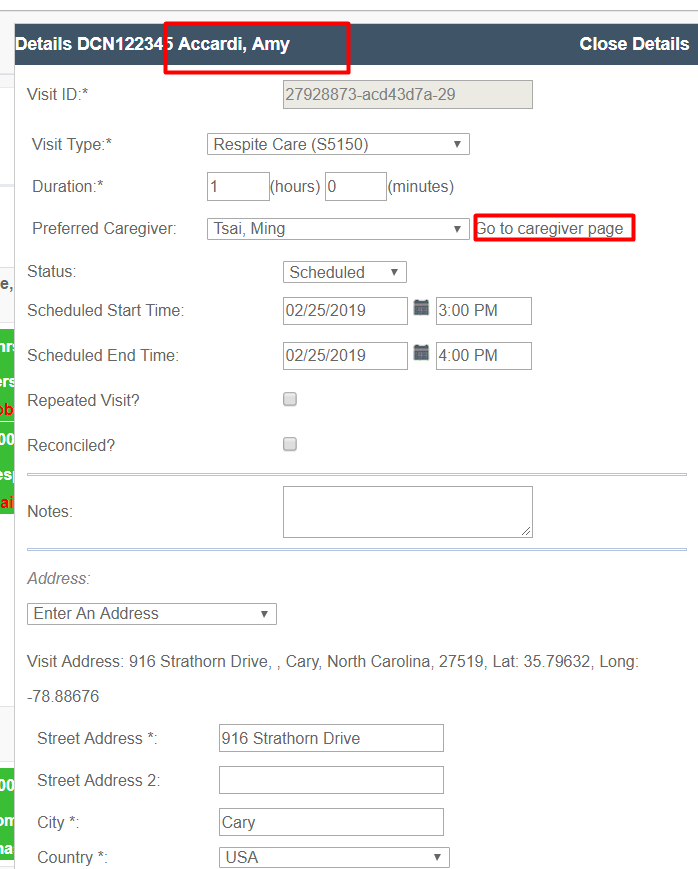
There are several shortcut options you should be aware of in the Scheduling calendars as well. At the top of the each visit detail window, the client's name and the caregiver's name will both open new tabs when clicked on.
You may also access the Caregiver Calendar when on the Caregiver Schedule Board by clicking on the calendar icon.
